


FAQ's
What exactly does resizing an image to 1280×720 mean?
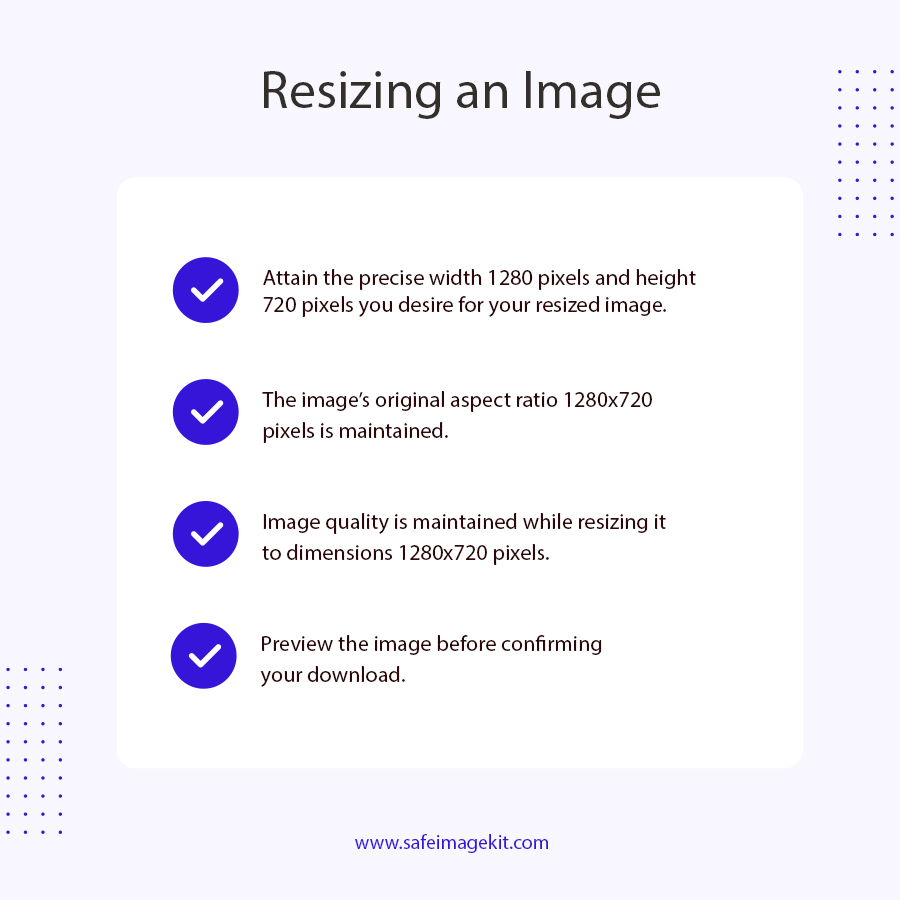
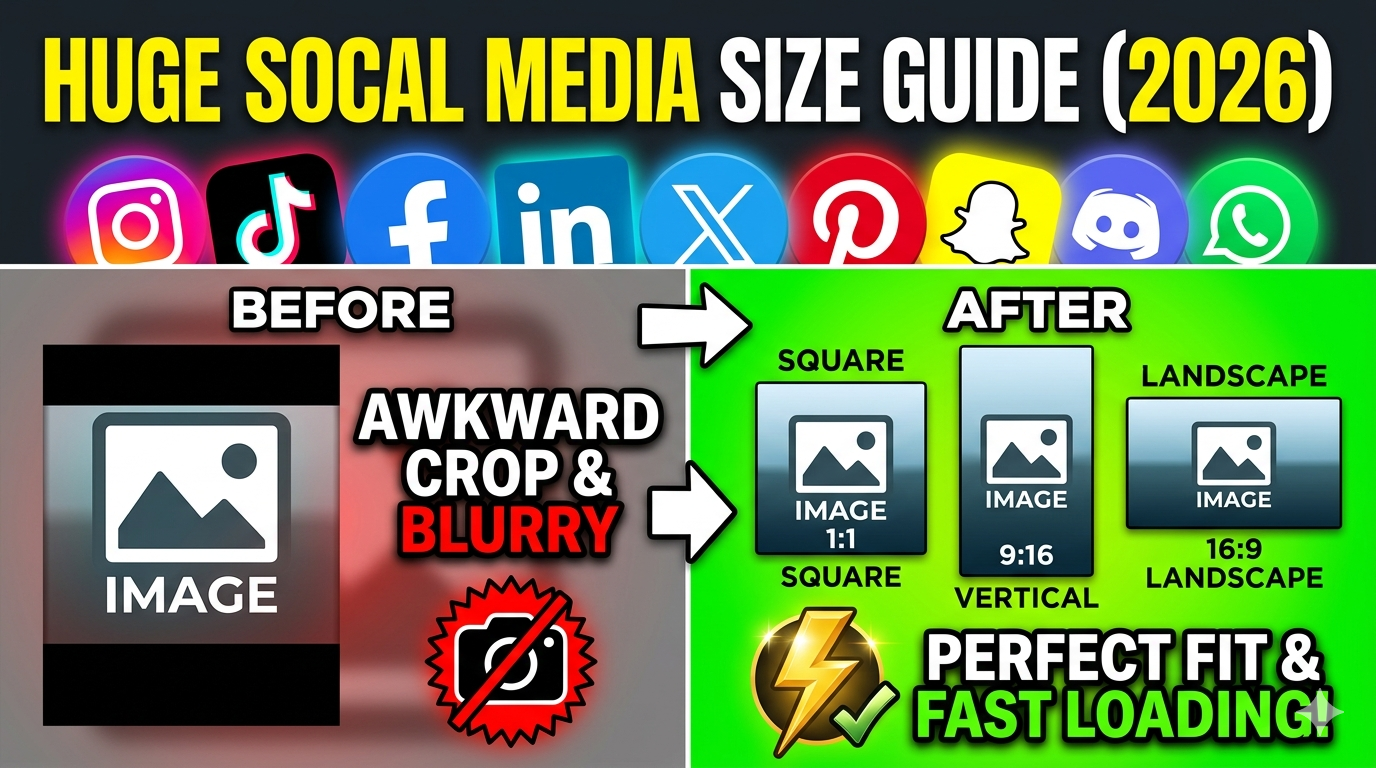
Resizing an image to 1280×720 means adjusting its width to 1280 pixels and its height to 720 pixels, which forms a 16:9 aspect ratio. This is commonly referred to as HD resolution and is widely used across digital platforms.
Why is 1280×720 considered an ideal resolution?
1280×720 is considered ideal because it offers a perfect balance between quality and performance. It delivers clear visuals without creating large file sizes that slow down loading speeds. This resolution is widely accepted by platforms like video streaming services and social media. It also ensures compatibility with most screens, including laptops, TVs, and mobile devices.
Will resizing my image affect its quality?
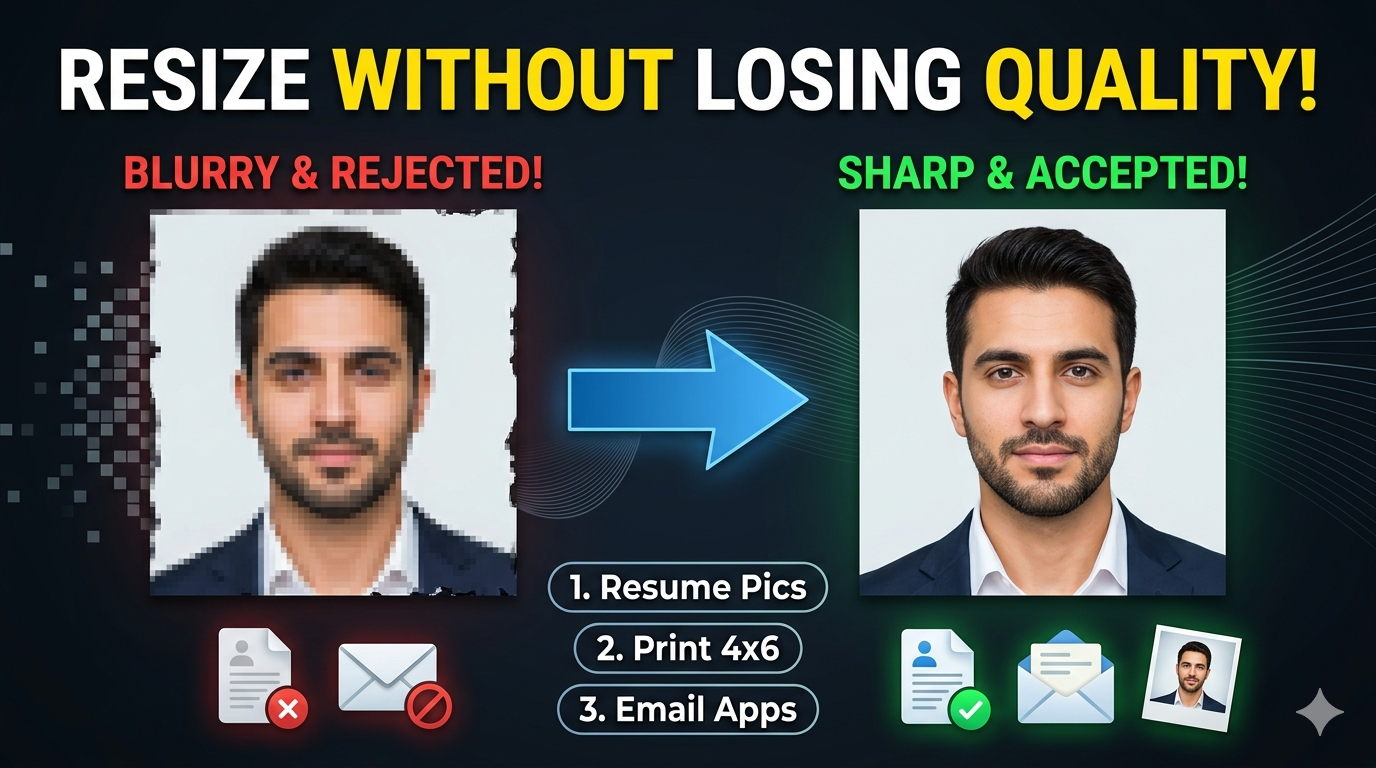
Resizing can impact image quality depending on whether you are enlarging or reducing the size. When reducing an image to 1280×720, the quality is usually preserved or even optimized. However, if you enlarge a smaller image to this resolution, some sharpness may be lost. This tool uses smart algorithms to maintain clarity and reduce distortion. It ensures that the final output looks visually appealing even after resizing. You can also preview the result before downloading to ensure satisfaction.
Why resize an image to 1280×720?
1280×720 pixels, also known as HD resolution, is one of the most widely used formats for digital content. It is ideal for maintaining clarity while keeping file sizes manageable. Resizing your images to this resolution ensures a consistent appearance across different screens and devices. It also helps improve loading speed without sacrificing visual quality. Whether you're creating content for online platforms or professional use, this size offers a perfect balance.
What are the available ways to upload images into the tool?
The tool provides multiple upload options to make the process as convenient as possible. You can directly select images from your device using the file upload option, which is quick and straightforward. Additionally, if your images are stored in cloud platforms like Google Drive or Dropbox, you can connect and import them without downloading them first. This saves time and simplifies your workflow.
Can I resize images for YouTube thumbnails using this tool?
Yes, this tool is perfect for creating YouTube thumbnails since 1280×720 is the recommended size. It ensures your thumbnails look sharp and properly aligned on all devices. A properly sized thumbnail improves visibility and engagement. Using the correct resolution also prevents unwanted cropping by the platform.
Can I specify custom dimensions in units other than pixels?
Absolutely, the tool supports multiple measurement units, including pixels, centimeters, millimeters, and inches. This is particularly helpful when working on projects that require precise sizing, such as print materials. You can easily switch between units, and the tool will automatically adjust the values in real time. This flexibility ensures that your image meets both digital and physical requirements. It also makes the tool suitable for designers, students, and professionals alike.
What resize types are available and how do they differ?
The tool offers several resize types to suit different needs. The "stretch" type resizes the image to fill the dimensions completely, which may alter the original proportions. Fit types maintain the aspect ratio and prevent distortion. You can choose to fill extra space with either a blurred version of the image or a solid color. Each type serves a different purpose depending on your design goals. This flexibility allows you to achieve both creative and practical results
What does DPI mean and why is it important?
DPI stands for dots per inch and determines the resolution of an image, especially for printing. A higher DPI means more detail and sharper output, which is essential for printed materials. Lower DPI is suitable for digital use as it keeps file sizes smaller. Choosing the right DPI ensures your image looks clear on screens or paper. It plays a crucial role in maintaining quality.
Do I need to crop my image to fit 1280×720?
Cropping is not necessary. If your image does not match the 16:9 ratio, you can choose alternative options like adding background padding. This allows you to preserve the entire image without cutting off important parts. The tool gives you flexibility to choose what works best for your project. This ensures you maintain both composition and visual balance.
Can I resize large images without losing performance?
Yes, the tool is designed to handle high-resolution images efficiently. It processes large files quickly without slowing down your device. The resizing engine is optimized to ensure smooth performance even with heavy images. This makes it suitable for photographers, designers, and professionals working with detailed visuals. You can expect fast and reliable results regardless of file size.
Which DPI setting should I choose for my project?
The ideal DPI depends on how you plan to use your image. For online use such as websites or social media, 72 or 96 DPI is sufficient. For printing purposes like posters or photos, higher values like 200 or 300 DPI are recommended. Selecting the correct DPI ensures your image appears sharp and professional. It also prevents issues like pixelation or blurriness.
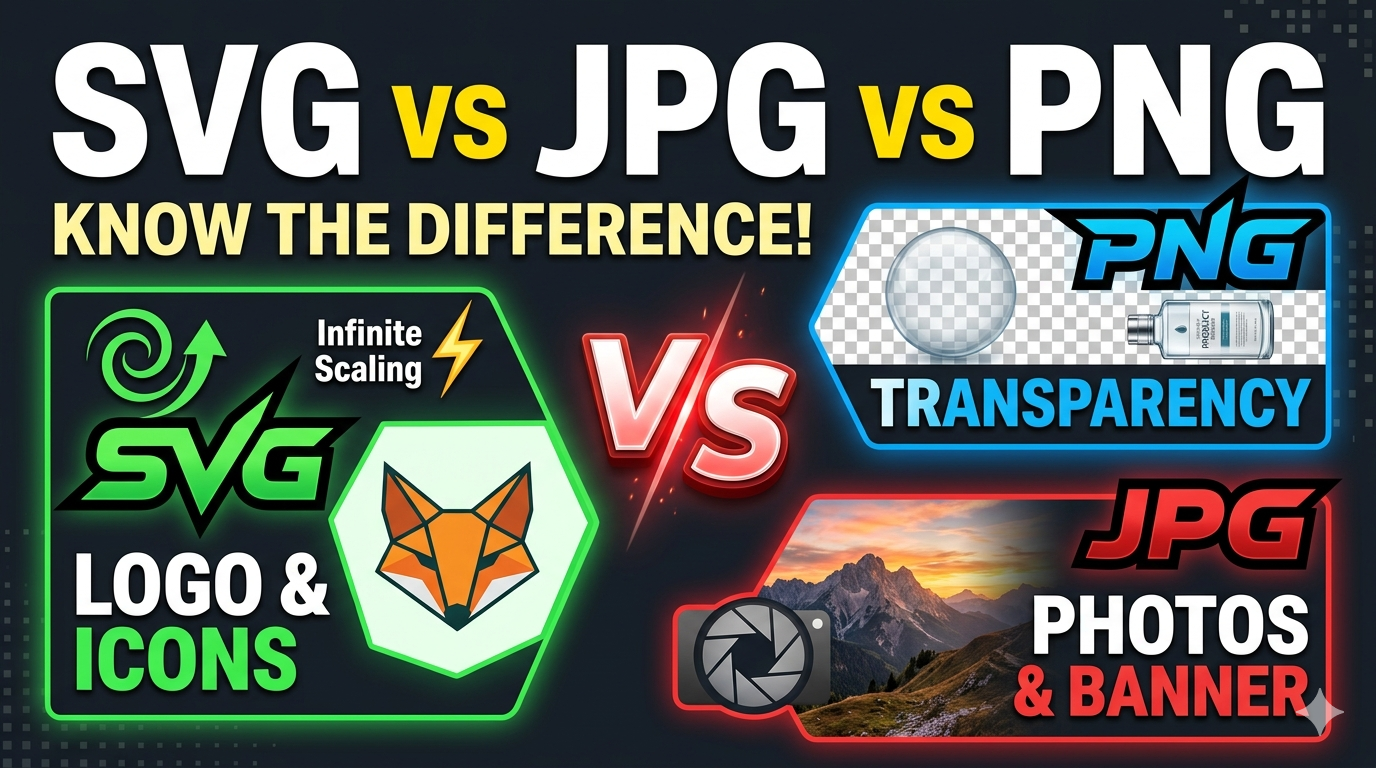
Is it possible to change the image format after resizing?
Yes, you can easily convert your image into different formats after resizing. The tool supports popular formats such as JPG, PNG, and WebP. Each format serves a different purpose: JPG for smaller file sizes, PNG for transparency, and WebP for web optimization. This flexibility allows you to prepare images for different platforms. You can choose the format based on your specific needs.
Can I control the quality of the resized image?
Yes, the tool includes a quality adjustment feature that allows you to fine-tune the output. You can choose higher quality for detailed images or lower quality for smaller file sizes. This is especially useful when balancing performance and visual clarity. High-quality settings are ideal for printing or professional use. Lower settings are great for faster uploads and sharing online. This flexibility gives you complete control over the final output.
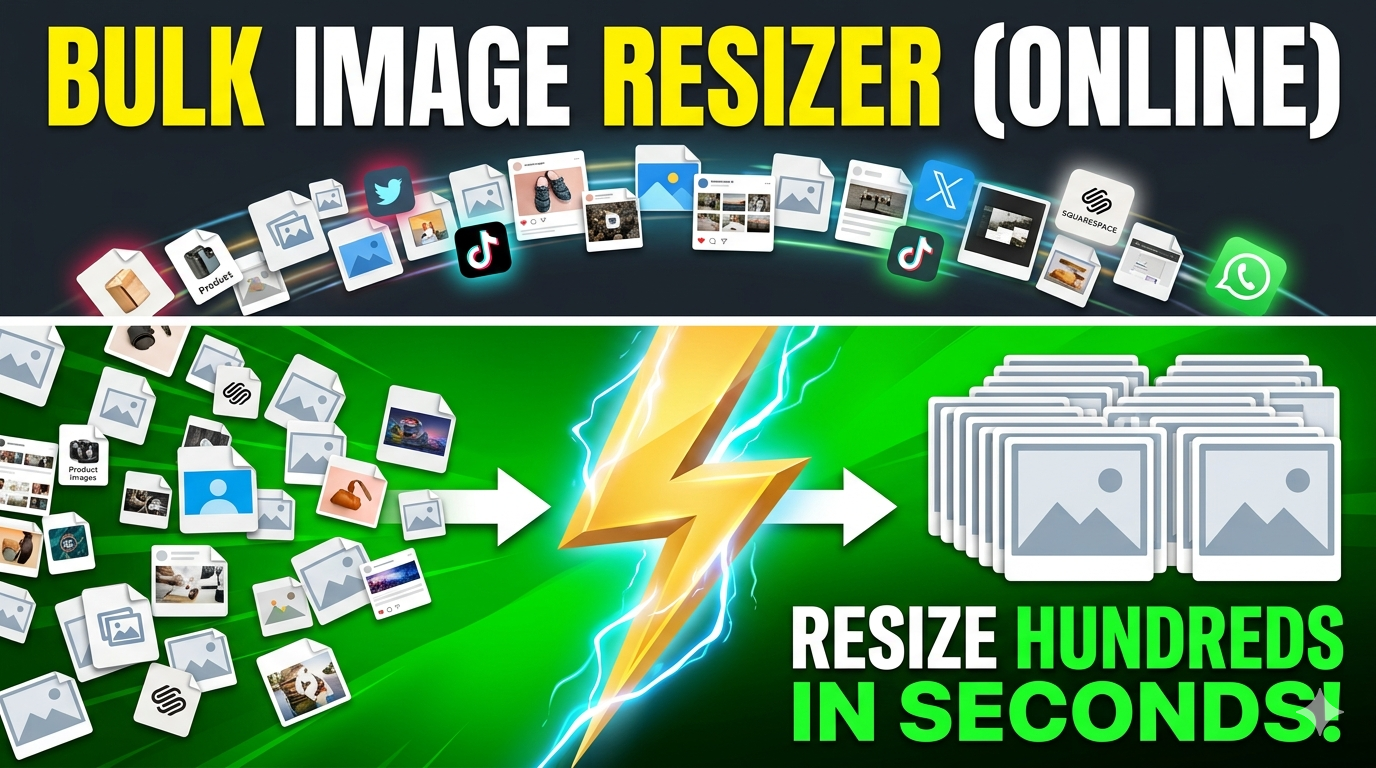
Is there any limit to how many images I can resize?
There are generally no strict limits on how many images you can resize. You can process multiple images one after another without restrictions. This is especially helpful for users working on bulk projects. However, for batch resizing, you can visit https://imgresizers.com/multiimage.
Can I use this tool on mobile devices?
Absolutely, the tool is fully responsive and works on smartphones and tablets. You can resize images directly from your mobile browser without installing any app.
Does the tool support transparent backgrounds?
Yes, transparency is supported when using PNG format. If your original image has a transparent background, it will be preserved after resizing. This is useful for logos, icons, and graphic design elements. You can also combine transparency with background fill options if needed.
Can I resize screenshots using this tool?
Yes, screenshots can be resized just like any other image. This is useful for presentations, tutorials, or sharing content online. The tool ensures that text and details remain clear after resizing.
Can I use this tool for presentations or slides?
Yes, 1280×720 is a common resolution for presentations. It fits perfectly into most slide formats and display screens. Using properly sized images ensures a professional and clean look.
Will there be any watermark on my resized image?
No, the tool does not add any watermark to your images. You get a clean and original output after resizing. This makes it suitable for both personal and professional use.
Can I redo the resizing if I am not satisfied?
Yes, you can simply upload the image again and adjust the settings. There are no restrictions on reusing the tool. This gives you complete flexibility to achieve the desired result.
Is an internet connection required?
Yes, since it is a web-based tool, an internet connection is necessary. However, the tool is lightweight and works efficiently even on standard connections.