





FAQ's
Why is image resizer to pixel tool and mention its uses?
This tool is vital for anyone needing precise image sizes quickly and easily. Whether for web, print, or social media, correctly sized images improve visual appeal and load times. It saves time by offering multiple units and formats, making it versatile for photographers, designers, bloggers, and marketers. Resizing images manually can be hectic and prone to errors; this tool simplifies the process. It also helps avoid issues like pixelation or oversized files that slow down websites. For print projects, selecting the right DPI ensures high-quality output. Overall, it’s an essential tool for resizing images efficiently without complex software.
Is this image resizer for pixel completely free?
Yes, this tool is entirely free to use. You do not need to register or pay any subscription fees to access its features. The platform is designed to provide a hassle-free experience for everyone, whether you're resizing one image or multiple. There are no hidden costs or premium versions. This makes it ideal for students, professionals, and casual users who need quick image adjustments.
Can I resize multiple images to pixels at once, or is it limited to one image at a time?
The tool supports resizing one image at a time to maintain simplicity and ensure high quality processing. This approach helps prevent errors and allows for precise control over each image's dimensions. However, for users with bulk resizing needs can visit https://imgresizers.com/multiimage.
Which measurement units does the tool support, and how does switching between them help?
The tool supports pixels, centimeters, inches, and millimeters as measurement units for resizing images. This versatility allows users to set precise dimensions according to their project requirements. For example, web designers often prefer pixels, while photographers or printers may need measurements in centimeters or inches. This flexibility saves time and removes the need for external conversions, ensuring your images are accurately sized for any platform or print format.
Why is DPI important in image resizing?
DPI stands for Dots Per Inch and measures the resolution of an image. Choosing the correct DPI is crucial because it influences the print quality. Resizing an image without considering DPI can lead to blurry or pixelated prints or unnecessarily large files for web use.
How do I decide which DPI to choose for my project?
The choice of DPI depends on the final use of your image. For online content such as websites, social media, or digital presentations, 72 or 96 DPI is sufficient because screens display images at lower resolutions. For printing flyers, posters, or professional photographs, 200 or 300 DPI is recommended to ensure high quality and sharpness. If you're unsure, consider the print or digital and the expected quality standards. Using the correct DPI helps optimize file size and image clarity, ensuring your output looks professional whether online or in print.
How do I choose the right image format?
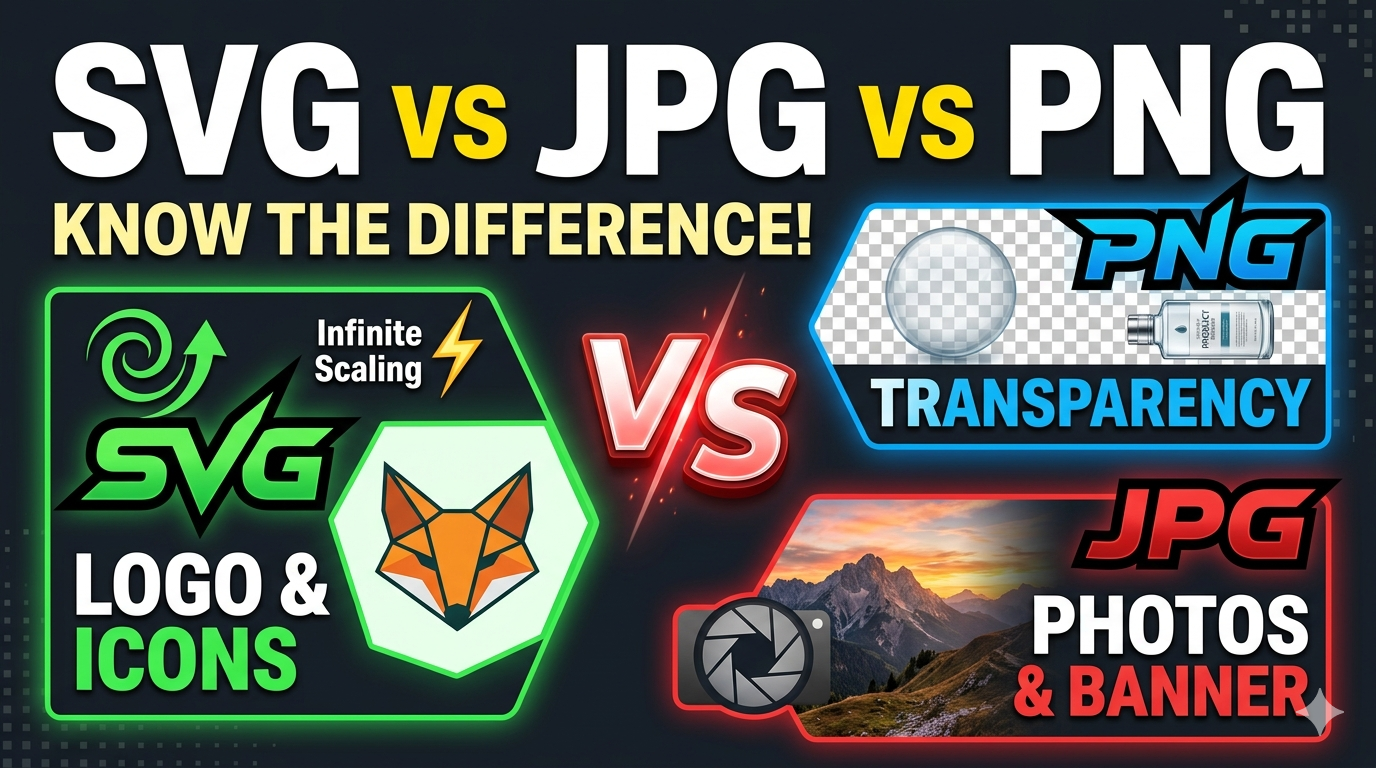
The tool supports several popular formats: PNG, JPG, JPEG, GIF, and WebP. PNG is ideal for images requiring transparency and high quality, such as logos. JPG and JPEG are suitable for photographs and complex images where file size matters. GIF is used for simple animations or small graphics. WebP offers a good balance between quality and compression, making it popular for web use. Before downloading, select the format that best suits your project—high quality, small size, transparency, or animation. This flexibility ensures your images are compatible with your platform or purpose.
Is my uploaded image data secure and private?
Absolutely. Your privacy and data security are top priorities. The platform processes your images temporarily during resizing, but no images are stored or shared with third parties. Once the process is complete, the images are automatically deleted from the server, ensuring your data remains confidential. You can use the tool confidently for sensitive images, such as personal photos or confidential documents. The platform adheres to strict privacy standards to guarantee that your images are safe and not misused.
Do I need to install any software or create an account to use this tool?
No installation or account creation is necessary. This online image resizer is designed to be accessible directly through your web browser, making it convenient and quick to use. Simply visit the website, upload your image, and start resizing immediately. This no-login approach reduces barriers and saves time, allowing you to perform quick edits.
Can I resize images for professional printing projects?
Yes, you can resize images for printing purposes using this tool. To achieve high-quality prints, select larger dimensions and higher DPI settings like 200 or 300. Adjust the physical size (in cm, inches, or mm) along with DPI to match the print requirements. For example, a 10x10 inch photo at 300 DPI will produce a sharp, professional print. The tool allows precise control over both dimensions and resolution, making it suitable for photographers, designers, and printing professionals aiming for high-quality outputs.
What should I do if my image looks pixelated or blurry after resizing?
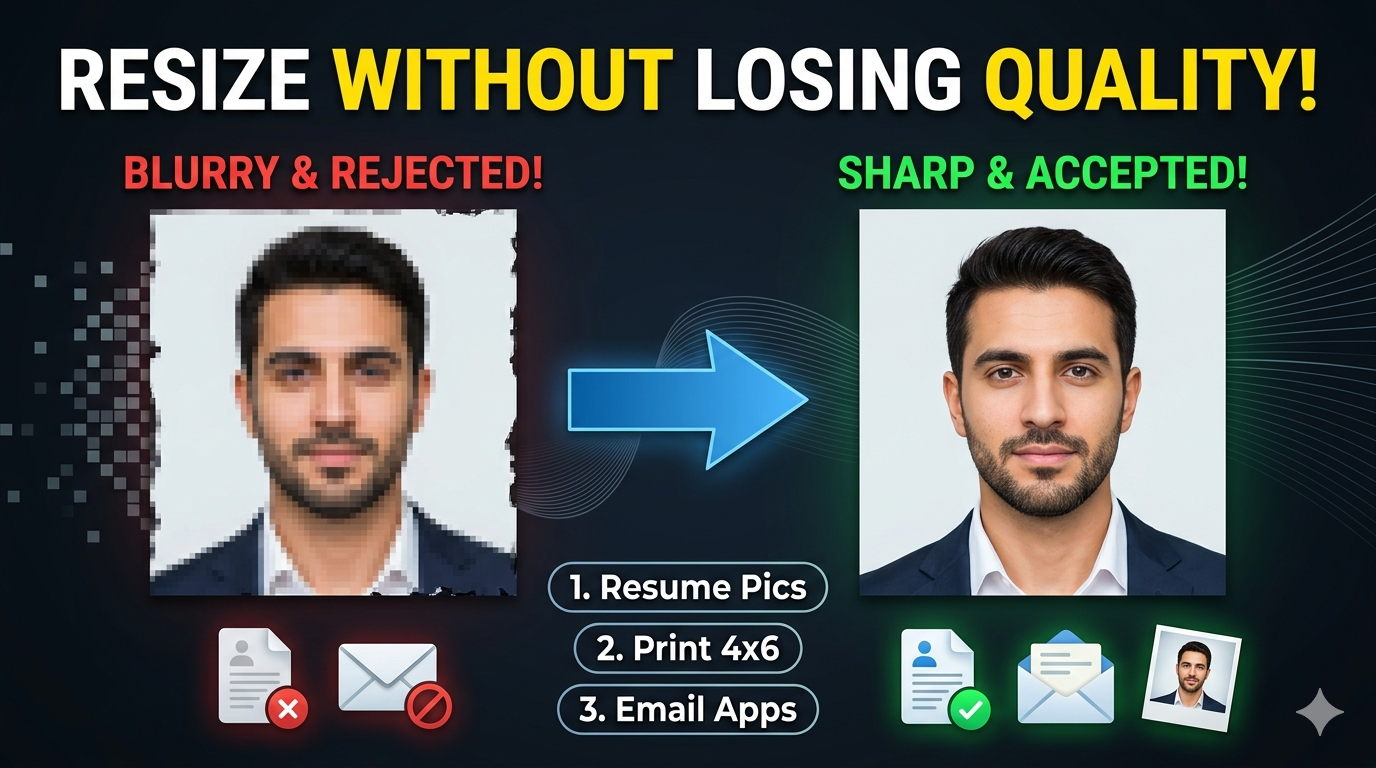
Pixelation or blurriness can occur if the image is scaled beyond its original resolution or if an inappropriate DPI is chosen. To fix this, ensure you select a higher DPI for print or larger dimensions. Also, use the original high-resolution image whenever possible. When resizing, keep the aspect ratio locked to prevent distortion. If quality issues persist, try resizing the image in smaller steps or with a higher-quality format like PNG. Remember, enlarging a low-resolution image beyond its capability will always result in some loss of quality.
Why is it necessary to resize images instead of using original ones?
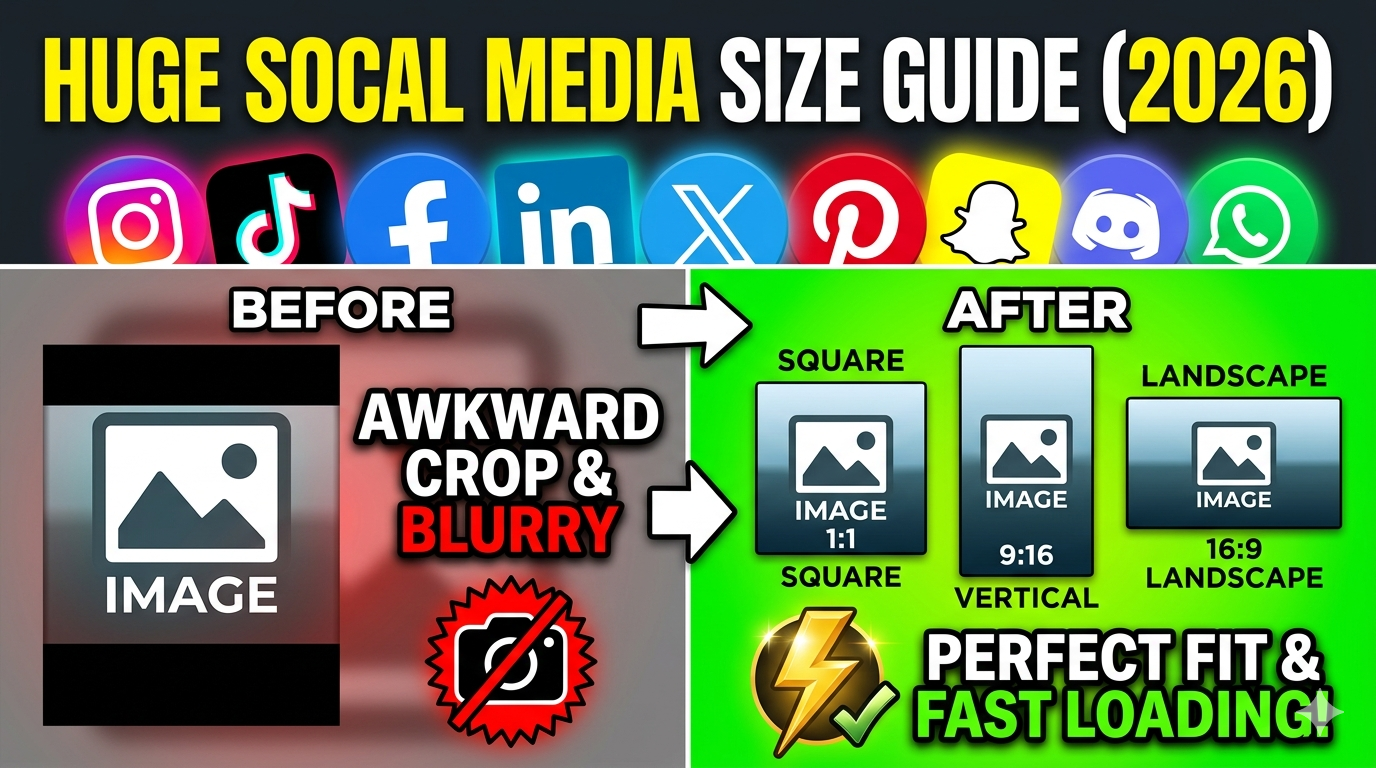
Original images may not always match the dimensions required for specific platforms, leading to issues like cropping, distortion, or slow load times. Resizing ensures images fit perfectly into designated spaces, maintaining visual appeal and functionality. Large images can cause slow website loading, impacting user experience and SEO. Furthermore, small images may appear pixelated or blurry. Resizing allows precise control over dimensions and quality, optimizing images for their intended use while preserving clarity.
Can this tool help fix issues with images that are too large or too small?
Yes, it allows users to resize images to the exact dimensions they need, fixing size-related issues. If an image is too large, resizing can reduce its size for faster loading or better fit. If too small, enlarging the image helps meet specific requirements. The tool also maintains aspect ratios to prevent distortion during resizing. Proper resizing ensures your images are suitable for web, print, or presentations, solving common size-related problems effectively.
How can this tool help in saving storage space on devices?
By resizing images and choosing formats with efficient compression, you can significantly reduce file sizes. Smaller images load faster on websites and consume less storage space on your device. For example, converting a high-resolution PNG to a WebP or JPEG format at an appropriate size can cut down the file size without losing quality. This optimization is especially useful for managing large image collections, uploading images online, or preparing images for email campaigns, all while maintaining acceptable visual quality.
What issues can this tool solve for photographers and designers?
Photographers and designers often need specific image dimensions for portfolios, prints, or digital displays. This tool allows them to resize images accurately for various outputs without complex software. It helps in preparing images for social media, print, or online galleries, saving time and effort. Additionally, it ensures consistent aspect ratios and resolution, maintaining professional quality. It’s especially useful for quick adjustments when preparing multiple images.
Why is this image resizer considered an essential tool in today’s digital age?
In today’s fast-paced digital environment, images are critical for communication, marketing, and branding. Properly sized images enhance visual appeal, load speed, and overall user experience. This tool provides a quick, accessible, and reliable way to optimize images for any platform, like web, print, or social media, without technical barriers. Its simplicity and versatility make it the best resource for anyone working with images daily.